Top Ad 728x90

Prikazani su postovi s oznakom Orchids. Prikaži sve postove

petak, 9. ožujka 2018.

We All Have It At Home: A Drink Which Will Help The Orchids Rebuild Their Flowers


Every flower lover will agree that the orchids are one of the most beautiful flowers,
but are also very, very difficult to maintain. There are several major rules that you
should be guided by if you want the orchids to develop in the right way.

Some people believe that orchids should not be exposed to direct sunlight, some
believe that water should be put once a week and so on. But there is a simple drink
that perfectly suits all orchids, and that is green tea.


Instead of watering your orchids with water, pour some green tea in the soil. All you
need to do is pour only 2-3 tablespoons of green tea a day, for the beautiful orchid to
grow and flourish without any problems. 

Repeat this 5 days, and rest for two. The
best way to keep track is to pour green tea on weekdays, and rest on the weekend.

utorak, 30. siječnja 2018.

Orchidae How to Grow for Profit


Orchids are exotic plants that many people mistakenly believe to be rare and difficult to grow. In reality, they are neither rare or especially difficult to grow; in fact, there are over 30,000 species of orchids and they are one of the oldest families of plants in existence. 

Although growing these intricate and fragile flowers is not simple, you can learn how to grow orchids for profit and pleasure.

1
Visit local growers and sellers and think about joining a local orchid society. Learning from experts will help ensure your success in growing your own.
Learn which orchids are easiest to begin growing and what special conditions they need in order to thrive.

 Many beginners start with the Dendrobium or Phalaenopsis hybrids. These are available at many local stores and are not expensive.
As you improve your skills, you will want to buy plants from professional growers. Perhaps you might branch out into the more exotic species which will reap greater profit.


2
Mimic the natural conditions in which orchids are most at home. This will provide you the greatest chance of success in growing your orchids.
Give bright but indirect sunlight.

Water well once or twice a week, but never let the orchid stand in water. The roots will rot. Good drainage is essential to grow orchids.
Fertilize with specially formulated orchid nutrients while the plant is growing.
Orchids do not grow in soil.

 Instead, their root must be anchored to materials which allow air to flow freely around the roots. Tree bark, moss, perlite, or vermiculite are commonly used.
Provide adequate humidity of 50 to 75 percent.
Ensure the temperature remains between 65 to 75 degrees Fahrenheit (18 to 24 degrees Celsius). 

Lower the temperature at night. Some orchids need the temperature to be lowered by only a few degrees, while others need a bigger drop in temperature in the evening hours.
Choose the correct pot size and pot material. Pots smaller than 8 inches (20cm) are often the optimum choice. It is important to make sure the roots have enough air flow and moisture without the chance of becoming water logged. 

Use rocks to help keep the plant securely supported. Clay pots are porous and let air and water through, but can also dry out more easily. Plastic pots keep moisture in but restrict air flow. Balance is the key.

3
Be aware that different species of orchids may require different conditions, and if you want to learn how to grow orchids for profit, you must learn the specifications of each type of orchid. For example, some orchids go through a period of dormancy, while others do not.

4
Inspect your orchid plants for disease. Scale, aphids, mealy bugs, and spider mites are common problems orchids might encounter. Snails can also attack orchids along with viral disease and destructive animals.
Try using helpful insects such as ladybugs and preying mantises to control destructive insects.

Apply insecticidal soap on tops and bottoms of leaves. Use only the most natural insecticides and only as a last resort.
Use rubbing alcohol to control scale and mealy bugs. Wipe bugs off with cotton dipped in alcohol. Rinse after applying alcohol.

5
Profit from raising orchids as you become more expert. You can begin to earn money by selling your orchids at farmer's markets, gardening shows, local nurseries and shops. Larger vendors sell to chain stores, broader based nurseries and florists.


Source

Orchid plant How to Repot...


There's something magical about orchids, don't you think? Their elegant necks and brilliant petals are fitting for an ancient forest habitat, and yet they thrive in a home environment with little upkeep. 


Repotting orchids prevents their roots from getting overcrowded so they'll continue producing gorgeous blooms for years to come. Learn how to determine when an orchid is ready to repot and how to move it to a new container without damaging the roots.

1
Determine whether it's time to repot. The ideal time to repot an orchid is right after it finishes flowering, when it begins to produce new growth.[1] However, you don't need to repot your orchid every time this happens; rather it should be done no more frequently than every 18 - 24 months. 

If you're not sure when your orchid was last repotted, and it seems to be growing out of its pot, yours may be overdue for a repotting. Take a look at your orchid for the following signs to know if it's ready to be repotted:
Several roots are growing over the pot. If you see many roots - not just one or two - dangling over the pot, your orchid needs more room, and it's time to move it to a bigger space.

Some of the roots are rotting. If they seem soggy, and the potting material is no longer draining properly, you'll need to repot the orchid.
The plant is growing over the edge of the pot. If the bulk of the plant is leaning way over the edge, it needs more space.


2
Don't repot orchids unless you really need to. Being overzealous with orchid repotting can throw off the plant's growing cycle. An orchid should only be repotted if the above symptoms are evident. If it looks to be healthy and well contained in its current pot, put off repotting for another year. It's better for the orchid to get a little overcrowded than to be repotted too soon.

3
Figure out what potting material you need. Now that you know it's time to repot your orchid, it's important to figure out the right type of potting material to use. Many orchids used as house plants are epiphytic, rather than terrestrial, meaning they don't grow in soil.
These types of orchids will die if you repot them in regular potting soil.
A combination of fir bark, sphagnum moss, charcoal and coconut husks is appropriate for many orchid genera. Most common orchids will do well with this mixture:

4 parts fir bark or coconut husks
1 part medium charcoal
1 part perlite
If you're not sure exactly what kind of orchid you have, packaged potting mix for orchids is a safe bet for most epiphytic orchids. It's available at many nurseries and home and garden centers.
If you have a terrestrial orchid, you'll need soil that is crumbly and retains water well. It should have a high content of perlite and wood matter.
 Ask at your local nursery for the particular mix that's right for your orchid genus.

4
Decide what size pot to use. When repotting an orchid, you'll need a pot just an inch or so bigger than the pot the orchid originally came in. You want to provide a little more space, but not too much - otherwise, the orchid will concentrate its energy on growing roots, and you won't see flowering for many months. Look for a plastic, clay, glass or ceramic pot suitable for your orchid size.
Make sure the new pot has drainage holes. If it doesn't drain properly, the orchid roots will rot.

Some orchid species have roots that can photosynthesize. If you have a Phalaenopsis, consider getting a clear glass or plastic pot to let the sunlight in.
If you need to choose a pot that's on the larger side, you might want to add some broken terra cotta chips to the bottom of the pot. This will help the potting material in the middle of the pot, which tends to stay wet, drain more effectively.

1
Measure out the potting material you need into a large bucket or bowl. Fill your new orchid pot with the potting mix, then dump it into a container about twice its size. To prepare orchid potting mix, you'll need to soak it in water overnight. This will help it retain enough moisture to sustain the orchid

2
Cover the potting mix with hot water. Go ahead and fill the bucket or bowl to the top with hot water. Don't use cold water, since the potting materials won't absorb this as well. Be sure the soil is at room temperature before repotting the orchid.

3
Strain the potting mix. You can use a strainer that you'd normally use for food (you'll want to clean it well afterward) or a large piece of cheesecloth. Drain out all the water so that all you're left with is wet potting mix. Run more warm water over the mix to rinse out any dust.
4
Remove the orchid from its old pot. Carefully lift the orchid from its old pot, loosening each root individually. If the roots are stuck to the pot, use sterilized scissors or knife to help free them. It's important to use very clean equipment, because orchids are prone to getting diseases.
You can sterilize your trimming tools by wiping them with rubbing alcohol on a rag.

5
Remove the old potting mix and dead roots. Use your fingers and a clean pair of scissors to carefully clean up the roots. Pick out the old mix - charcoal, wood chips, moss, and so on - and discard it. Use the scissors to clip away rotten or dead roots, taking care not to damage any healthy plant matter.
Roots that are soft and limp are probably dead, so go ahead and remove them.
Untangle the roots carefully by easing them apart with your fingers.

6
Get the new pot ready. If you're using a pot that you've used before for orchids, clean and sterilize it with boiling water to get rid of toxins and kill potential disease vectors. If the pot is large and deep, line it with broken pieces of terracotta or packing peanuts to help with drainage. If you're using a shallow pot, this step isn't necessary.

Repotting the Orchid

1
Place the orchid in its new pot. The older growth should go toward the bottom of the pot, with the newer growth toward the sides, where it will have more room to spread out. The top part of the root mass should be at the same level it was in the previous pot. That means the new shoot should be above the surface of the pot, with most of the roots below the surface.

2
Press the potting mix into the pot. Pour some in around the roots. Shake the pot and tap on the side of the pot to help the potting material settle lightly packed around the root coils. If you do use your fingers, press gently so that the live roots are not damaged. Make sure there are no big air pockets. If parts of the roots are left uncovered, they won't grow properly.

It helps to pour in just a little potting mix at a time. Work that around the roots with your fingers, then pour in more mix and keep going.
Continue pressing in the mix until it's level with the top of the pot.

3
Make sure the plant is able to stand upright when you're finished. Stake the plant upright or clip it to the side of the pot so it does not fall over or grow crookedly.

4

Continue caring for your orchid as before. Place your orchid in a temperate spot with partial shade. Water it sparingly or according to the needs of your particular orchid.


Source

ponedjeljak, 8. siječnja 2018.

How to Grow and Care for Dendrobium Orchids


Some of the most popular orchid plants among home growers are Dendrobium orchids These showy flowers are relatively easy to grow, with a central long stem and an attractive spray of flowers that can last up to four weeks.
There are many Dendrobium varieties, and each one has slightly different growing conditions. Luckily, with all the types of Dendrobium orchids to choose from, there is likely to be one that fits your home environment perfectly.

Dendrobium is sort of the catch-all of orchid species. When you look for Dendrobium orchid info, you can find whole books devoted to each of the different types of Dendrobium orchids that can fall into this category. In general, though, you can separate them in a few different groups.
Sheer beginners will love Nobile orchids. These hybrids go dormant for a couple of months in the winter, losing some of their leaves in the process. 

These plants can have up to 50 blooms on one stem, making for a stunning floral display. Growers have perfected the Nobile hybrids so closely that they can even cause them to bloom for any requested holiday. If you’re looking for an orchid with lots of helpful information available about it, this is the one to choose.

Growing Conditions and General Care

Although there is a huge variety from which to choose, when it comes to learning how to grow Dendrobium orchids, there are two important rules that they all follow.


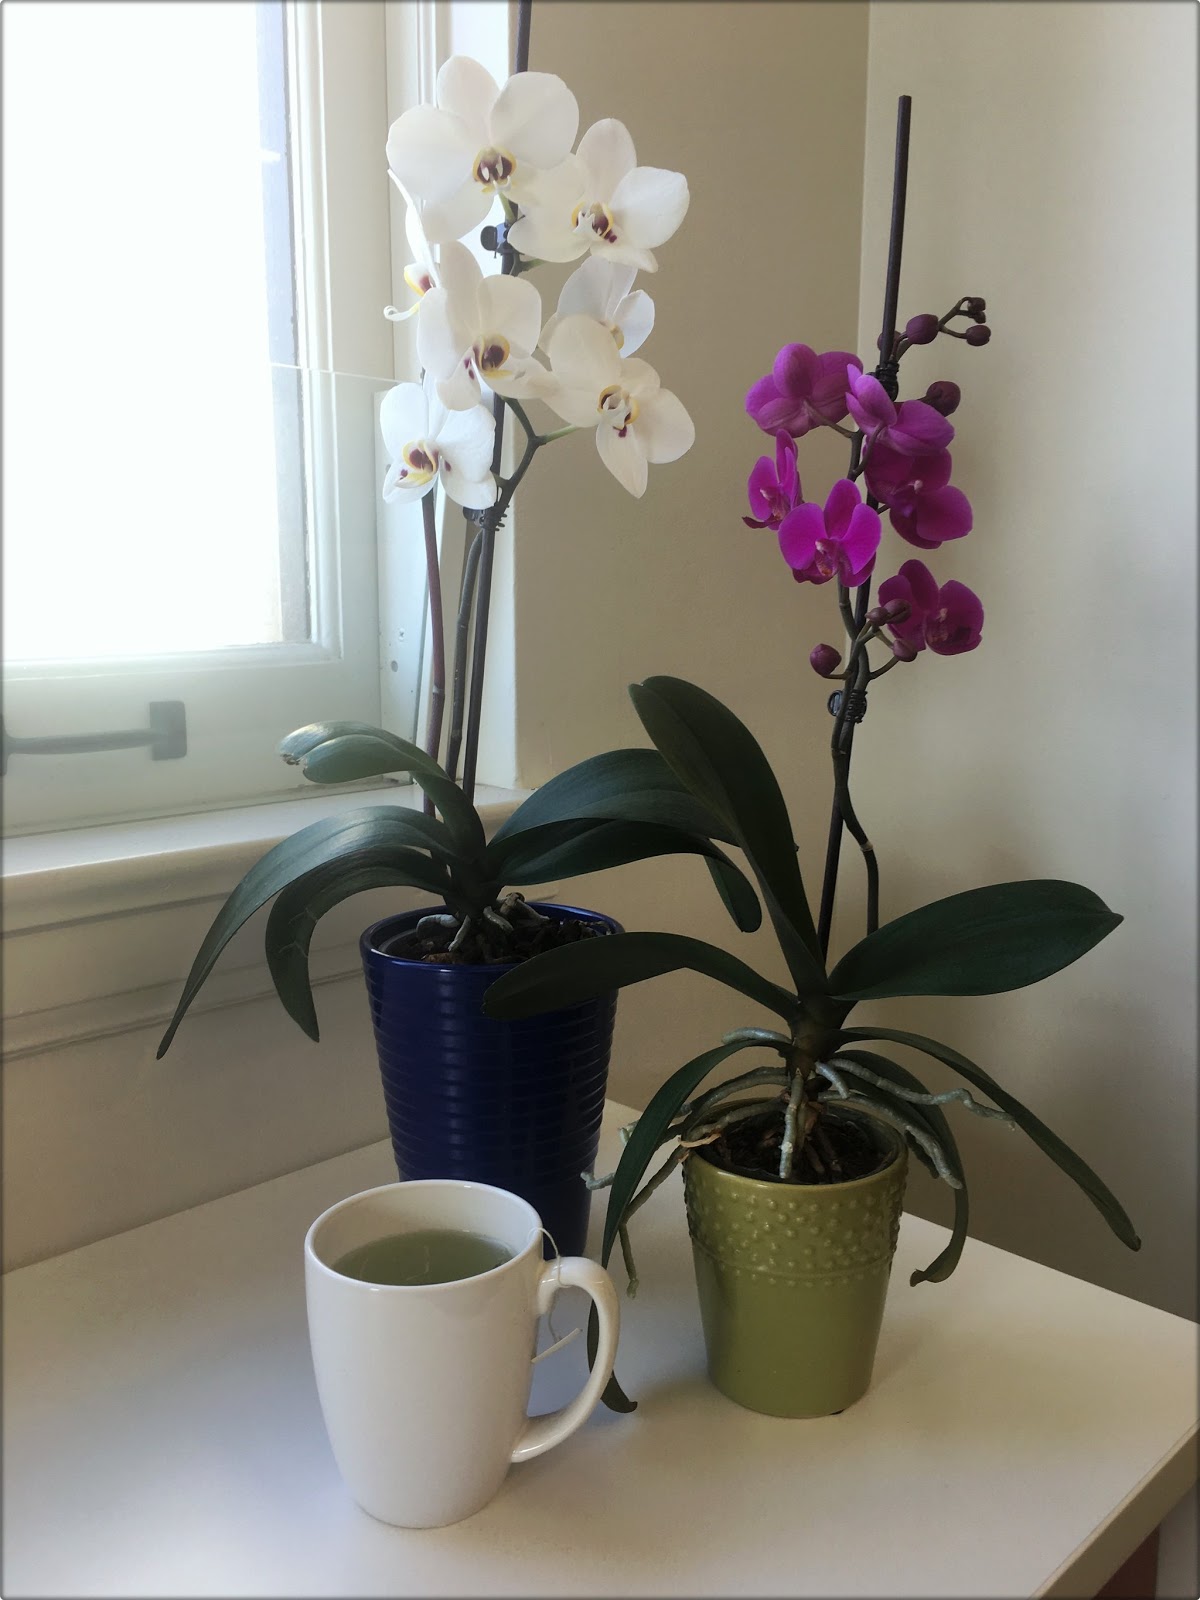
First, they like to live in little pots with their roots crowded into a tiny area. If you try to be nice and give them room to spread out, the roots are likely to stay too moist and begin to rot. If you don’t like the look of a large plant growing in a ridiculously small pot, camouflage it in a larger planter.
The other way to care for Dendrobium orchids is to give them as much bright light as possible. This doesn’t mean sticking them in the desert sunlight, but a south-facing window in the house is the place where they will thrive. In almost all cases, when your Dendrobium orchid isn’t flowering, it’s a case of not enough sunlight.

The beauty and exoticism orchid


Exotic and refined orchid flower since ancient times symbolizes love and romance. Her roots are attributed to the aphrodisiac properties. For orchid say that the flower of successful people, and how to successfully grow, learn below.


  With its beauty and diversity that owes number of species, orchids delight for centuries. To date about 30 thousand species of orchids, and yet so many of them yet to discover or to be incurred by crossing the so far known species. 


The rich are different colors from snow white, bright yellow, purple to blood red and the color of mud, orchids bloom in all shades. Particularly appreciated for their beauty and fragility, these beautiful plants are threatened by deforestation and cultivation of land Colombia and Brazil, where their natural habitat.

Orchids have a reputation of being very sensitive and difficult to grow. Require high humidity and plenty of light. 


Best to place them on the window to get enough light, but avoid direct sunlight. If the room air is dry, the plant should be placed on the tray filled with moist glinoporom, but certainly not all the time to stand in water. 

Orchids are very specific in terms of watering, which is made by steeping. The jar was dipped in a container with water and left for 4 to 8 hours to soak up the water substrate. After this orchid is not necessary to water the ten days, although that depends on the particular type and conditions in the apartment.

  Enchanted by the beauty of a flower, many will buy them in full bloom, but after losing the flowers will devote little attention to them. Good to know that even neglected orchids, with proper care in a few months can blossom again.


 For those who do not yet have enough experience with orchids, one of the most rewarding and the easiest types to maintain the Phalaenopsis. Long booming and does not require too much watering, and of those is that you will be very alert when it needs to be done.

Once the plant absorb enough moisture, it should be back to dry the jar. If the plant has too much water, watering should be reduced, and the substrate dry to a new watering.


 During each watering, especially in winter when the air is drained for heating both sides of sheets it is advisable to spray irrigate with water. After flowering, the flower stem will dry and we should cut. It is cut below the first flower, ie. The place where he was the lowest flower on a stalk.

Air roots, which orchids as epiphyte take moisture from the air and food, should not be cut, but it should be left to protrude out of the jar. Shorten it only in the case when it loses its green color and begins to wither or rot. 


When buying orchids need to pay attention to the leaves and roots, which must be healthy and green. If you want your orchid bloom as long as possible, choose a plant that has a couple of open flowers and several buds.

  
Orchids are transplanted approximately every three years, a period of inactivity. The substrate is replaced if it began to break up, or if it is covered with fungus. The roots should be well moistened to soften, so as not to break during transplantation, and sick and dry roots are removed.

If you do not have the time or space for pots, let the pleasure of choice, and the area in which you are staying decorate cut orchids. A glass of wine and a couple of orchids with a favorite book, the special moments unforgettable.

Translate

Top Ad 728x90